REFITTING A DENIX MAUSER TO ACCEPT MAUSER BROOMHANDLE GRIPS
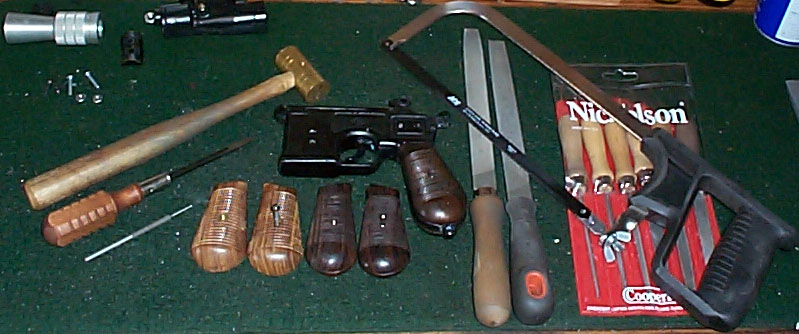
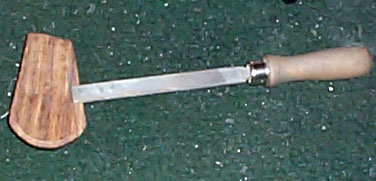
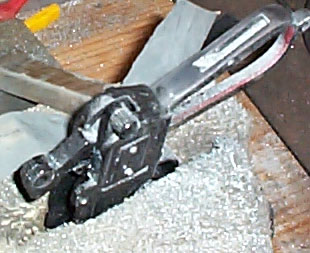
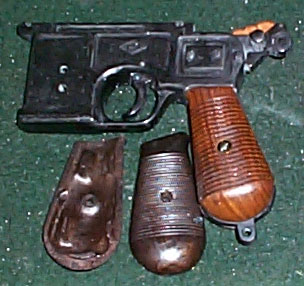
Here are the tools you will need. A couple of files (at least one half-round), a standard screwdriver (to remove the grips and upper), a punch and hammer (to remove the upper), a hacksaw, 200 and 600 grit sandpaper, a hobby knife, and (of course) the Denix and a set of wood grips. There are two sets of wood grips shown, the blond set is from Sarco and the dark set is from GPC. Both are for the 1896-pattern Broomhandle (usually listed as "early, with step in frame").
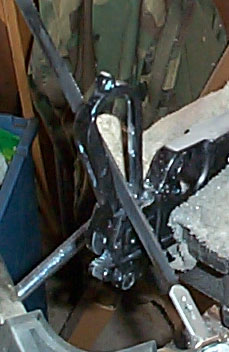
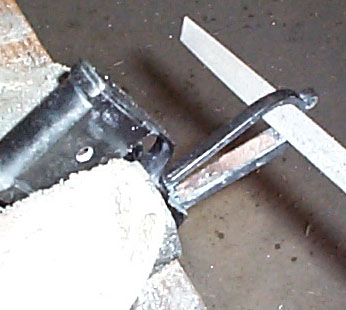
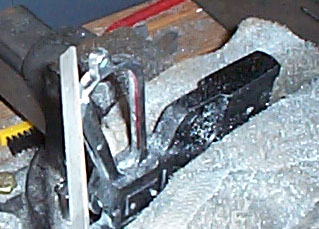
Pull the upper off (there is a screw in front of the frame, under the barrel, and two short pins toward the back). Put the frame in your vice and use the hacksaw to cut the center grip-support strut off.

Keep the cut as close to the frame as possible, it will make life easier later.
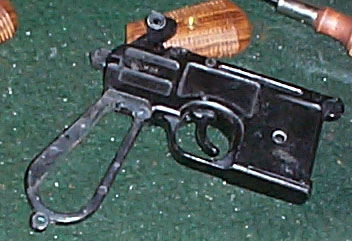
Once the support strut is out, use the file to smooth out the inside. I use a fairly coarse (number 9) half-round bastard file.
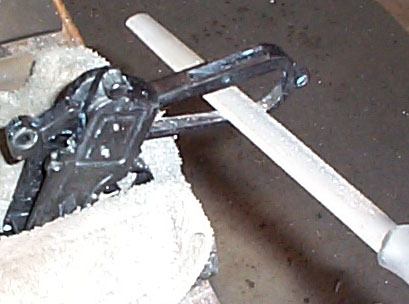
Smooth both sides. Here is what it should look like when you are done. Don't worry about polishing it, this is the inside of the grips and no one should care. A real Mauser has raw milling machine marks here :)
The grips don't fit yet...they are stabilized in place by a center section that sticks through the frame a bit...and the Denix is just shaped wrong. Since it is easier to file wood than metal, I make the grips fit the frame instead of making the frame fit the grips. This also keeps the frame as thick (and strong) as possible.
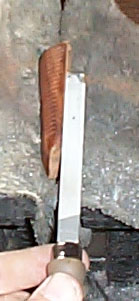
The file is pointing to the area to be cut away first. You will end up cutting both sides that stick out (leaving the outside alone), keeping the grip centered in the frame. The little file shown has one dead edge (no serrations), so it can work without cutting the main body of the file. Take your time and check the fit often. This is the only tricky part.
File, file away. The dead edge of the file is toward the left of the picture, to avoid trenching the body of the grips.
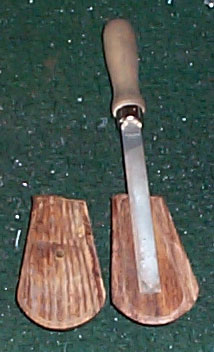
An unmodified grip panel is on the left, and the one I've been working on is on the right. Hard to see (darn shop fluorescent lights), but you can get an idea of how much you have to remove from the center section.
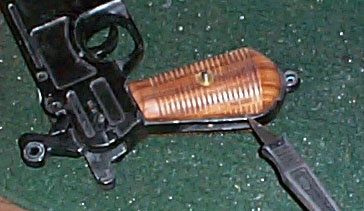
Once the grips fit, bolt them on. You will notice the Denix frame is sticking out in a few places...this is because the Denix doesn't copy the Broomhandle exactly. Resist the urge to scream and throw tools, we can fix it. Take a hobby knife and scribe the frame where it sticks out around the grips. Pull the grips off and set them aside, then file the outside edge of the frame to the scribed line. A Dremel works well here to take off a lot of metal fast, but remember that metal is easy to remove but hard to replace. A file works too, just not as fast.
More filing.

Use a fine file to erase the deep gouges left by the coarse file. Since this is the outside of the frame, scratches are easy to see...and not wanted. So, remove them with a fine file.
Then remove the fine file marks with sandpaper. I use 220 grit followed by 600 grit. Since the Denix is so soft, I skip a few steps with the sandpaper (usually 200 then 300 then 400 then...), it works the same and saves time.
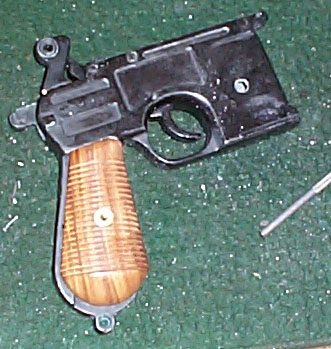
This is a good time to sand the rest of the Denix, remove the logo, clean up the pits, and all that. Here, I used flat black to cover the sanded areas and replaced the grips (which I had soaking in a dark walnut stain as I was sanding the frame, as I didn't care for the light yellow color).
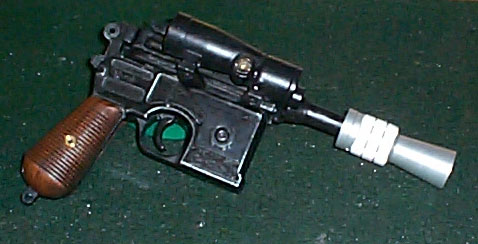
Nothing like a set of fitted walnut grips to dress up a blaster. Shown is a composite blaster built up with a Yodahouse nozzle, ThinkJedi bronze scope and piston halves, my strange interpretation of the scope mount detail, and walnut grips. No plastic!